
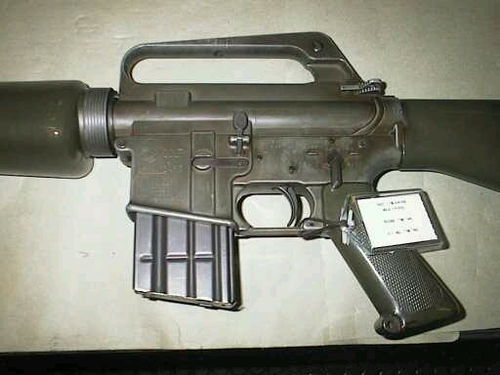
Painting an AR-15: A Comprehensive Guide
Are you looking to add a personal touch to your AR-15 rifle? Painting it can be a rewarding and creative endeavor. Whether you’re aiming for a specific color scheme or just want to protect your firearm from the elements, this guide will walk you through the process of painting an AR-15 from start to finish.
Materials Needed

Before diving into the painting process, it’s essential to gather all the necessary materials. Here’s a list of items you’ll need:
| Item | Description |
|---|---|
| AR-15 rifle | Your firearm is the centerpiece of this project. |
| Gun cleaning kit | Use this to clean your rifle before painting. |
| Paint stripper | Remove any existing paint or coatings. |
| Primer | Ensures paint adheres to the metal surface. |
| Paint | Choose your desired color and finish. |
| Sanding paper | Use to smooth out the surface before painting. |
| Paintbrushes | For applying primer and paint. |
| Masking tape | Protects areas you don’t want to paint. |
| Drop cloth | Protects your work area from paint spills. |
Preparation
Once you have all your materials, it’s time to prepare your AR-15 for painting. Follow these steps:
-
Clean your rifle thoroughly using the gun cleaning kit. This will remove any dirt, grease, or oil that could prevent the paint from adhering properly.
-
Disassemble your rifle according to the manufacturer’s instructions. This will allow you to paint each component individually.
-
Remove any existing paint or coatings using paint stripper. Be sure to wear gloves and follow the manufacturer’s instructions for safe use.
-
Use sandpaper to smooth out any rough spots or imperfections on the metal surfaces. This will ensure a smooth, even finish.
-
Wipe down the rifle with a clean cloth to remove any dust or debris.
Applying Primer
Primer is crucial for ensuring that the paint adheres to the metal surface. Follow these steps to apply primer:
-
Shake the primer can for at least one minute to ensure the paint is well-mixed.
-
Apply a thin, even coat of primer to the metal surfaces using a paintbrush. Be sure to cover all areas, including crevices and corners.
-
Allow the primer to dry completely. This may take several hours, depending on the temperature and humidity.
-
Once the primer is dry, inspect the surface for any missed spots or uneven areas. Touch up as needed.
Painting the Rifle
Now it’s time to apply the paint. Follow these steps to achieve a professional-looking finish:
-
Shake the paint can for at least one minute to ensure the paint is well-mixed.
-
Apply a thin, even coat of paint to the metal surfaces using a paintbrush. Be sure to cover all areas, including crevices and corners.
-
Allow the paint to dry completely. This may take several hours, depending on the temperature and humidity.
-
Once the paint is dry, inspect the surface for any missed spots or uneven areas. Touch up as needed.
-
Repeat the painting process for each coat