
Web AR Tutorial: A Comprehensive Guide for Beginners
Are you intrigued by the idea of blending the digital world with the physical one? Web AR, or Augmented Reality on the web, is a technology that allows you to do just that. Whether you’re a developer looking to create immersive experiences or a user eager to explore the possibilities, this tutorial will guide you through the process step by step.
Understanding Web AR

Web AR is a technology that enables AR experiences to be accessed directly through a web browser without the need for any additional software or hardware. It’s based on the WebAR API, which is a set of web standards that allow for AR content to be created and displayed on compatible devices.
Here’s a brief overview of the key components of Web AR:
| Component | Description |
|---|---|
| WebAR API | A set of web standards that enable AR content creation and display. |
| AR.js | A JavaScript library that simplifies the integration of AR into web pages. |
| Marker-based AR | AR experiences that use physical markers to trigger content. |
| Markerless AR | AR experiences that don’t require physical markers and use the device’s camera to track the environment. |
Setting Up Your Development Environment
Before you start creating Web AR experiences, you’ll need to set up your development environment. Here’s a quick guide to get you started:
-
Install a code editor: Choose a code editor that you’re comfortable with, such as Visual Studio Code, Atom, or Sublime Text.
-
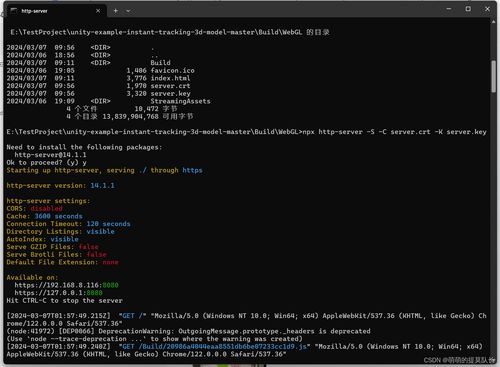
Set up a web server: You can use a local server or a cloud-based solution like Heroku or AWS.
-
Install Node.js and npm: Node.js is a runtime for JavaScript outside of a browser, and npm is a package manager for JavaScript.
-
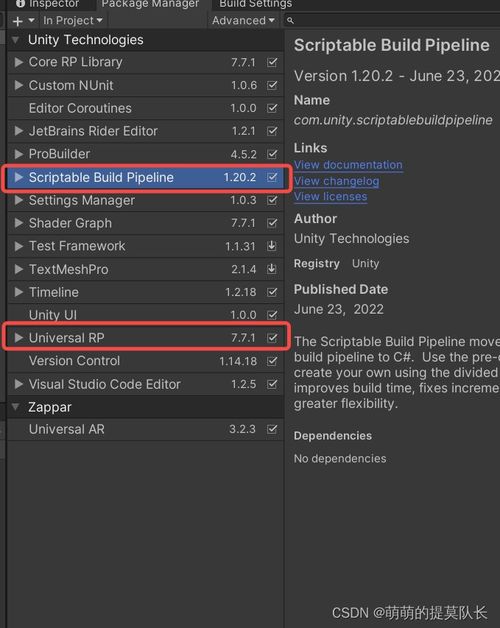
Install AR.js: Use npm to install AR.js in your project.
Creating Your First Web AR Experience
Now that you have your development environment set up, it’s time to create your first Web AR experience. Follow these steps to get started:
-
Create a new HTML file: Open your code editor and create a new HTML file.
-
Include the AR.js script: Add the AR.js script to your HTML file.
-
Set up the AR.js container: Create a container element in your HTML file where the AR content will be displayed.
-
Define the marker: Create a marker image that will be used to trigger the AR content.
-
Load the AR content: Add the AR content to your HTML file.
-
Test your AR experience: Open your HTML file in a web browser and point your device’s camera at the marker to see your AR content in action.
Advanced Techniques
Once you’ve mastered the basics of Web AR, you can start exploring more advanced techniques. Here are a few ideas to get you started:
-
Integrate 3D models: Use a 3D modeling tool to create models and integrate them into your AR experiences.
-
Use animations: Add animations to your AR content to make it more engaging.
-
Implement interactivity: Allow users to interact with your AR content, such as tapping on objects to reveal more information.
-
Optimize for performance: Ensure that your AR experiences are optimized for performance on a variety of devices.
Conclusion
Web AR is a powerful technology that opens up a world of possibilities for both developers and users. By following this tutorial, you’ve learned the basics of creating Web AR experiences and can now start experimenting with more advanced techniques. Happy coding!